Monday 26 August 2019

* Vera Lane Studio: Teacher ATCs


Hello and Happy Monday!

It is my DT day at Vera Lane Studio and I have 2 ATCs to share featuring the Teachers 2

Here are my ATCs:


I'm pretty sure we have the weekend teacher and the same Monday to Friday teacher in this set. My images are coloured with Copics and fussy cut.  The background is brayered Distress Oxide in Picked Raspberry and Wilted Violet with modelling paste applied through a stencil. As the  paste picked up some of the Distress Oxide colour, I applied white Posca pen over some of the circles. A little black stamping and some white paint splatters finish off the background. The teachers were adhered to the ATCs on foam tape with black and white, polka dot washi to ground them. I completed the ATCs with a hand drawn, scribbly line, black border.

Teachers 2


I hope you'll come along and play on Vera Lane.
It's such a friendly, fun place to be!


Thanks for stopping by today.
xoxo

I'd like to play along in these challenges:
Dragonfly Dreams No Patterned Paper 28/08
Simply Create Too #152 AG 30/08
Angies Digital Stamps #34 Back to School 30/09
Always Fun #125 Back to School 01/09 TOP 3

Polkadoodles #34 AG 02/09
ALL Sorts #5345 Feminine 06/09
Creations in Pink #1`3 Mainly Pink 13/09


***

* Artsystamper: Awesome Asters

Hello! 
Happy Monday!

Can you believe we are heading towards the end of August? Where does time go? Here in the UK today is a Bank Holiday and it's the last one of the year, so hopefully we'll be heading out for some walking and fresh air.

Today is my DT day for Artsystamper, a relatively new digital stamp company owned by Beverly Cole. One of the things I love about Bev's digital stamps is that you get a great selection of stamps and sentiments in each set and also pre-coloured ones for those quick and easy, last minute cards. Please pop over to the Etsy shop, TheArtsystamperShopand see what she has in store.

I have two cards to share today and both feature the beautiful Aster Garden digital stamp set.

My first card has a mixed media background and is hand coloured. Here it is:


Aren't these asters gorgeous!  I printed out several and coloured them with Copic markers, adding some white Posca paint dots to the centres. I fussy cut the flowers and put them to one side whilst I made the background.
The background is 12.5 x 12.5 cm 300 gsm card. I used a brayer to apply Distress Oxide inks in Twisted Citron and Wilted Violet, concentrating the violet around the edges. I used a stencil to add some white circles and dots with watered down acrylic paint and a stamp to add touches of Black Soot grungy marks. Next I added white paint splatters using a Posca pen. I blended Wilted Violet ink around the background's edges, then used archival ink in black to add a little more definition.


I decided to add some ribbon along the bottom edge and found this purple organza ribbon and green satin ribbon in my stash. I knotted a piece of the purple ribbon as attached to the band.
The sentiment is one of four that comes in the digital stamp set and I opted to die cut it with a stitched rectangle die. I inked lightly around the edges in archival black ink and popped the sentiment on foam for dimension.
I arranged two of the flowers, shaping them with a stylus and adding foam to the centres. The stems were glued directly onto the background


To finish, I matted the background onto violet card and then green card and placed all onto a 14.5 cm square card base.

***
My second card uses the pre-coloured yellow aster from the Aster Garden set along with the yellow taxi paper from Bev's Retro Fun Papers


I printed the paper to fit an A6 card and printed the yellow aster three times. I die cut one of the aster's using a torn rectangle die. Leaving the die in place, I inked the background lightly using Scattered Staw Distress Ink, concentrating the colour around the edges of the die cut. By leaving the die in place you get a crisp white border to the image mat. I also die cut a piece of black card upon which to mat the image.
As you may know, I'm not keen on one dimensional cards when I use pre-coloured images. I always have to make my own mark on them, so this time I opted to cut petals from the other two asters and layer them up. I inked the edges of the fussy cut petals with Scattered Straw and layered them with foam pads.


 Before I assembled the card, I inked the edges of the yellow paper with Scattered Straw, then it was just a case of matting the paper on black card, adding the matted image on foam tape and adhering the sentiment band which I also inked.
I decided to add a few Posca paint dots to the image background.

Here are the TheArtsystamperShop products I used:

Aster Garden           Retro Fun Papers

    
***

That's all for today! 
I'll be back with another Artsystamper project in two weeks time.

Meanwhile, please check out:

Thank you for stopping by today!

I'd like to support the following challenges:

Purple and Green Card
Dragonfly Dreams No Patterned Paper 28/08
Cassic Design Team Challenge #8 AG 28/08
Cardz TV #96 AG 29/08
613 Avenue Create  #224 AG 30/08 (#3)
Lil Patch of Crafty Friends #112 AG 31/08
Craft Rocket #62 AG 31/08
Crafting by Designs AG 31/08
Corrosive Challenges #8 AG 31/08
Dare 2 B Artzy Aug AG 31/08
Pammie's Inky Pinkies Challenges #1934 AG 02/09
Creative Crafters #19 AG 08/09


***

Friday 23 August 2019

Turtle


Hello!

Today I'm sharing a card featuring the lovely turtle from Rubber Dance's Textured Sea Creatures


I stamped the turtle with VersaFine Onyx Black and heat embossed with clear powder. I coloured him with Copic pens and gave him some white Posca pen highlights. I made a mask to cover the turtle and inked around him with Stormy Sky Distress Oxide. I created the sea bed with Vintage Photo Distress Oxide and added some marks with Copics. I stamped some of the Doodle Borders 1 stamps to represent seaweed. I added splatters of white paint and brown and blue inks and then I added spots of glue with a Quickie glue pen and sprinkled some Fauna Art Glitter in the sand.
I did cut a frame and inked with Memento Sand and Broken China Distress Ink, adding stamping in the same colours using one of the Doodle Flower leaves. White paint splatters were added using a white Posca pen The frame was inked around the edges with Vintage Photo and popped over the background on foam tape to add dimension.


Here is this month's colour challenge at Rubber Dance:


That's all from me today.
Thanks for stopping by today.
xoxo

I'd like to play along in these challenges:
Lavinia World Challenges AG 26/08 Honourable Mention 
 * Addicted to Stamps #355 Photo 27/08
Crafty Creations #396 AG 27/08
Penny's Challenges #444 AG 28/08
Craft Rocket #62 AG 28/08
QKR Stampede #360 AG 29/08
Rubber Dance Colour Challenge 31/08


Thursday 22 August 2019

* Gecko Galz: Seaside and Nautical


Hello!

Today is my feature day on the Gecko Galz blog.
Each month we have a customer challenge and the winner gets a $25 spending spree in the Gecko Galz Etsy shop. 
This month the challenge theme is Shabby Chic Seaside. 
There are still 7 days left if you wish to play along.

***
My projects today are nautical and seaside themed, though none of them are what I would call shabby chic in style. 

Here they are:

First of all, I have a wall hanging made from wooden popsicle sticks.


I made the substrate by gluing popsicle sticks together and attaching some twine as a hanging loop. I painted the sticks with white gesso, then watered down some phthalo green acrylic paint to give the sticks a wash of colour. I decided to blend some Vintage Photo Distress Ink along the edges. 
The beautiful image is from the Summer Seas collage sheet. I enlarged it and printed it onto tissue paper. I used matt medium to attach it to the sticks.
I added small and medium art stones around the image as a frame, colouring here and there with a wash of Vintage Photo ink. In the bottom corner I made a cluster of natural fibres and sea shells (which were gifted to me from overseas - I wish I could remember whereabouts they came from!), filling in any gaps with more art stones.


My second project is an altered notebook:


 This started out as an ordinary paperback notebook. I covered the front, back and spine with kraft card to make it sturdier, measuring the dimensions of the book and using my score board to make the spine folds. I inked around the edges with Vintage Photo Distress Ink. Next I distressed some papers (First Class and La Boheme paper pack) and the sail boat image from the lovely Summer Seas collage sheet and attached these with glue to the front cover. Twine ribbon was attached below the image and sticker letters were adhered  to spell out 'Daily Log'.
The fastening is twine with wooden beads at the end and a fish charm. The end of the twine was attached to the inside back cover and covered with kraft card. The twine then wraps around the book and tuck in on itself: the beads add weight and help to hold it in place.

I gave this to my friend's husband to take on their cruise so that he could keep a memory journal of each day.


My third project is a set of six note cards which I have packaged as a little gift set:


These were quick and easy makes on 4 inch square cards. The die cut matting and layering with kraft paper, along with the twine ribbon adds some extra interest and dimension.
The paper I used is from the First Class paper pack and the images are from the Beachy Jewels set.  The images were enlarged before printing. All the paper edges were distressed by scraping scissors along the edges. I love how these turned out! I packaged them in a cellophane envelope with a kraft card belly band and another matted shell image which had a thin piece of twine tied around and knotted in a small bow.

****
I made a couple of shabby chic projects as inspiration for the customer challenge. These were posted on my blog on the 1st August and the details can be viewed here. Here is a photo of the two projects:


I hope you'll join our Shabby Chic Seaside Challenge where the Winner will get a 
$25 shopping spree 
at the Gecko Galz shop.


The only rule is that you must use at least one Gecko Galz product 
(this can be one of the freebies or, of course, you can buy at the Etsy store!) 
Also if you sign up for the Gecko Galz newsletter, you'll be able to claim a free collage sheet each month and get first claim on the weekly $1 deals!

Please pop over to the Gecko Galz blog to see the fabulous designs by the very talented DT.

We also have a Private Facebook Group where there are 4 monthly challenges, each with a collage sheet prize
Come and join us!


I'll be back on the 1st September with more Gecko Galz projects.


Here's all the info you need:

***
Thanks for stopping by today.
xoxo


I'd like to play along in the following challenges: 

Wall Hanging
Mod Squad Travel/Vacation 27/08
Crafty Creations #396 AG 28/08
Penny's #444 AG 28/08 TOP 3

Crafting by Designs Aug AG 31/08
Creative Inspirationsn Aug Seasonal 03/09
More Mixed Media Aug AG 04/09

Altered Notebook
Crafty Calendar  AG 28/08
Cassic Design Team Challenge #8 AG 28/08
Cardz TV 96 AG 29/08
613 Avenue Create #224 AG 30/08
SimplyCreate Too #152 AG 30/08
Lil Patch of Crafty Friends #112 AG 31/08

Notecard Set
A Gem of a Challenge #16 AG 26/08
A Perfect Time to Craft Aug 27/08
*A Bit More Time To Craft #98 AG 31/08

I'd really love some feedback :)      
I read and appreciate all your comments. 

Monday 19 August 2019

* Vera Lane Studio: Contessa Two


Hello again!

In my last post I explained that I couldn't choose which Contessa image to use for my DT day at Vera Lane Studio. So I made two cards.

Here is the second card I made:


She's such a quirky girl! Again I gave her some curly hair. I coloured Contessa with Copics and gave her white highlights. I teamed her with three houses from the Little Houses collage sheet  and a cloud from Fun Collage Sheet No 3. She also has a winged heart from the Love collage sheet which is available on request.  Contessa is popped up on foam pads for some dimension. The other elements are glued directly onto the  background.
The background is brayered Distress Oxides in Picked Raspberry and Twisted Citron. I love pink and green together.  I added some text stamping in Black Soot and some black and white paint splatters. The edge of the background is edged with black archival ink.
This sentiment is cut it into strips, inked around the edges in black and glued it directly onto the background.


My first Contessa can be found here.

Contessa 
       
Little Houses       Fun Collage Sheet No 3
       

I hope you'll come along and play on Vera Lane.
It's such a friendly, fun place to be!


Thanks for stopping by today.
xoxo

I'd like to play along in these challenges:

Cute Card Thursday #595 Add a Quote 21/08
Dream Valley #207 Hand Coloured Image 24/08 **
Cupcake Inspirations #476 (PINK and SWEET) 24/05
PIP Challenge #1933 AG 26/08
As You Like It Favourite Colour Combination 28/08 TOP 3

(Pink and green = love the zesty combo)
Crafty Calendar Aug AG 29/08
Crafters Castle #20 AG 01/09
Cutie Pie Challenge #138 Favourite Colour Combination 02/09
(Pink & Green = fresh and zesty)


***

* Vera Lane Studio: Contessa One


Hello and Happy Monday!

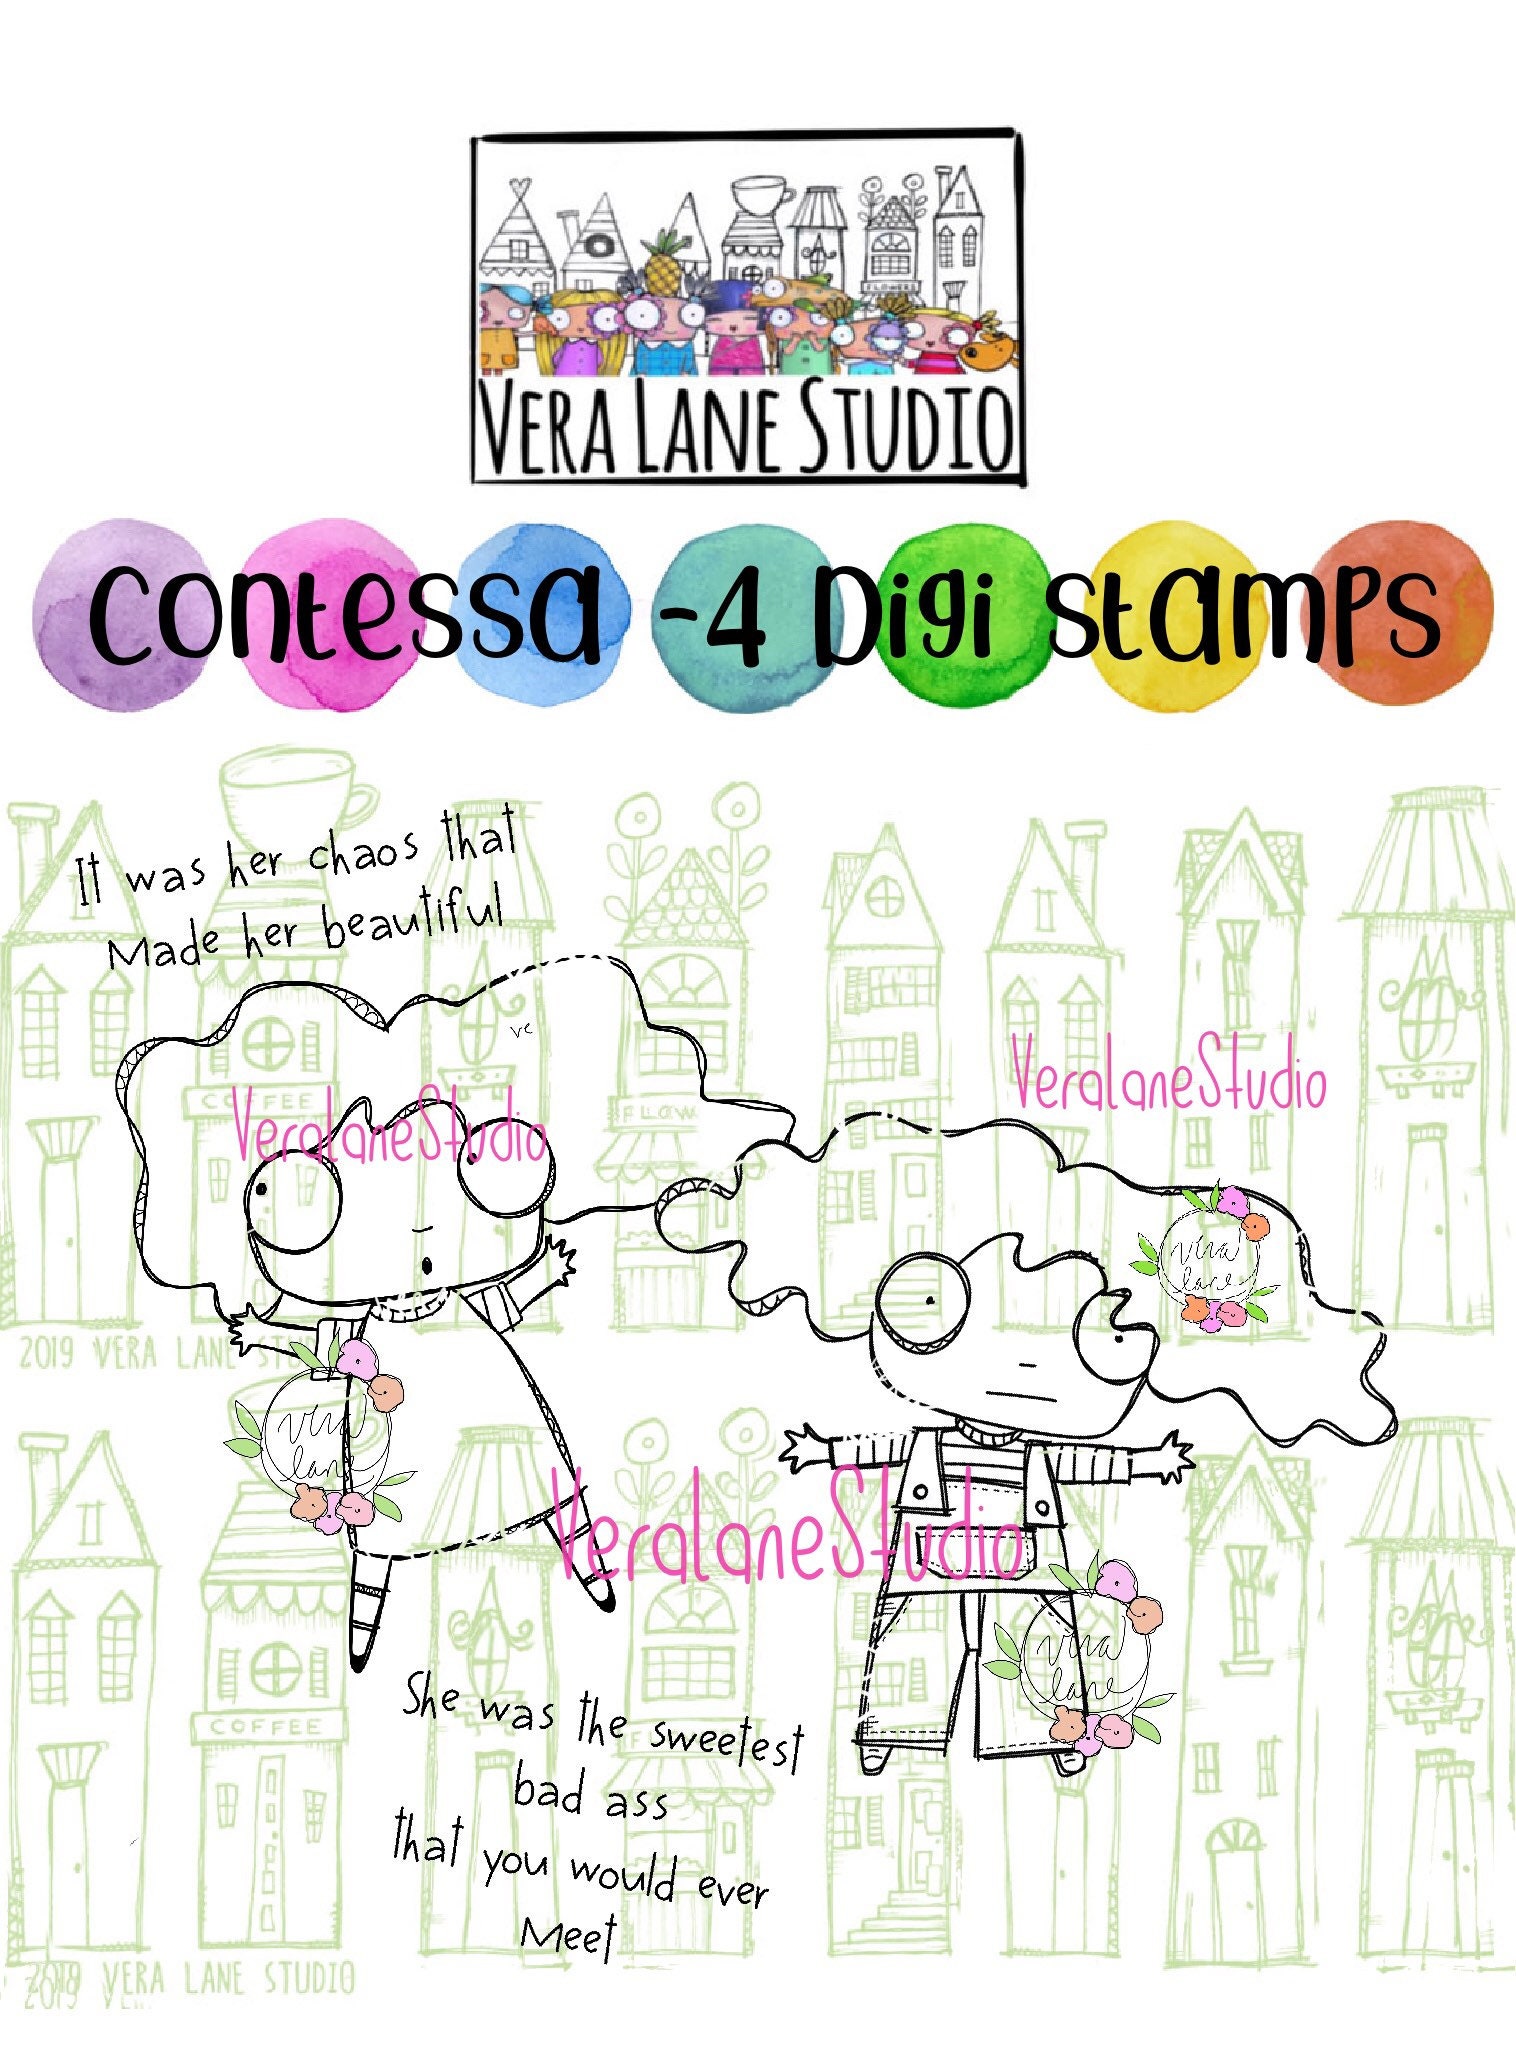
It is my DT day at Vera Lane Studio and we have a new release today. It's a 4 piece digi set called Contessa and features two quirky girls and two sentiments. I couldn't decide which of the Contessa images to use, so I made two cards.

Here is the first card I made:


Isn't she fabulous! I thought she needed some curly hair. I coloured Contessa with Copics and gave her white highlights. I teamed her with three circles from the collage sheet Circles and Stems and a cloud from Fun Collage Sheet No 3. Contessa is popped up on foam pads for some dimension. The other elements are glued directly onto the  background.
The background is brayered Distress Oxides in Twisted Citron and Peacock Feathers. I added some text stamping in Black Soot and some black and white paint splatters. The edge of the background is edged with black archival ink.
This sentiment seemed very fitting for Contessa - I cut it into strips, inked the edges in black and glued it directly onto the background.


My second Contessa is on my next blog post coming later today.

Contessa


I hope you'll come along and play on Vera Lane.
It's such a friendly, fun place to be!


Thanks for stopping by today.
xoxo

I'd like to play along in these challenges:

Dream Valley #207 Hand Coloured Image 24/08
Daisy Chain Challenge #33 Summer 26/08
A Gem of a Challenge #16 AG 26/08
Cassic Design Team Challenge #8 AG 28/08 DT Favourite
 
Dragonfly Dreams No Patterned Paper 28/08
Cardz TV #96 AG 29/08
613 Avenue Create  #224 AG 30/08 (#2)
Simply Create Too #152 AG 30/08
Lil Patch of Crafty Friends #112 AG 31/08


***